- Dynamic Timber Floors
- Call Michri On 0468 410 607
Does your home or office space need a makeover? Look no further than floor sanding and restoration! Whether you have worn-out hardwood floors that need a new lease on life or dull concrete floors that need a fresh, polished look, our ultimate guide to flooring sanding and restoration has got you covered.
In this comprehensive guide, we will take you through the step-by-step process of sanding and refinishing different types of flooring, from hardwood to concrete. You’ll learn about the tools and materials needed, techniques for sanding and repairing damaged areas, and how to apply the perfect finish for a long-lasting and beautiful result.
With our expert tips and advice, you’ll be able to revitalize your space and give it a brand-new look without breaking the bank. Say goodbye to dingy, worn-out floors and hello to a fresh and inviting environment that will impress anyone who walks through the door.
Don’t settle for less when it comes to your space. Let our ultimate guide to flooring sanding and restoration be your go-to resource for achieving the beautiful and rejuvenated floors you’ve always wanted.


Has your once stunning flooring lost its luster? Over time, wear and tear can take a toll on any type of flooring. Here are some signs that indicate your flooring may be in need of sanding and restoration.
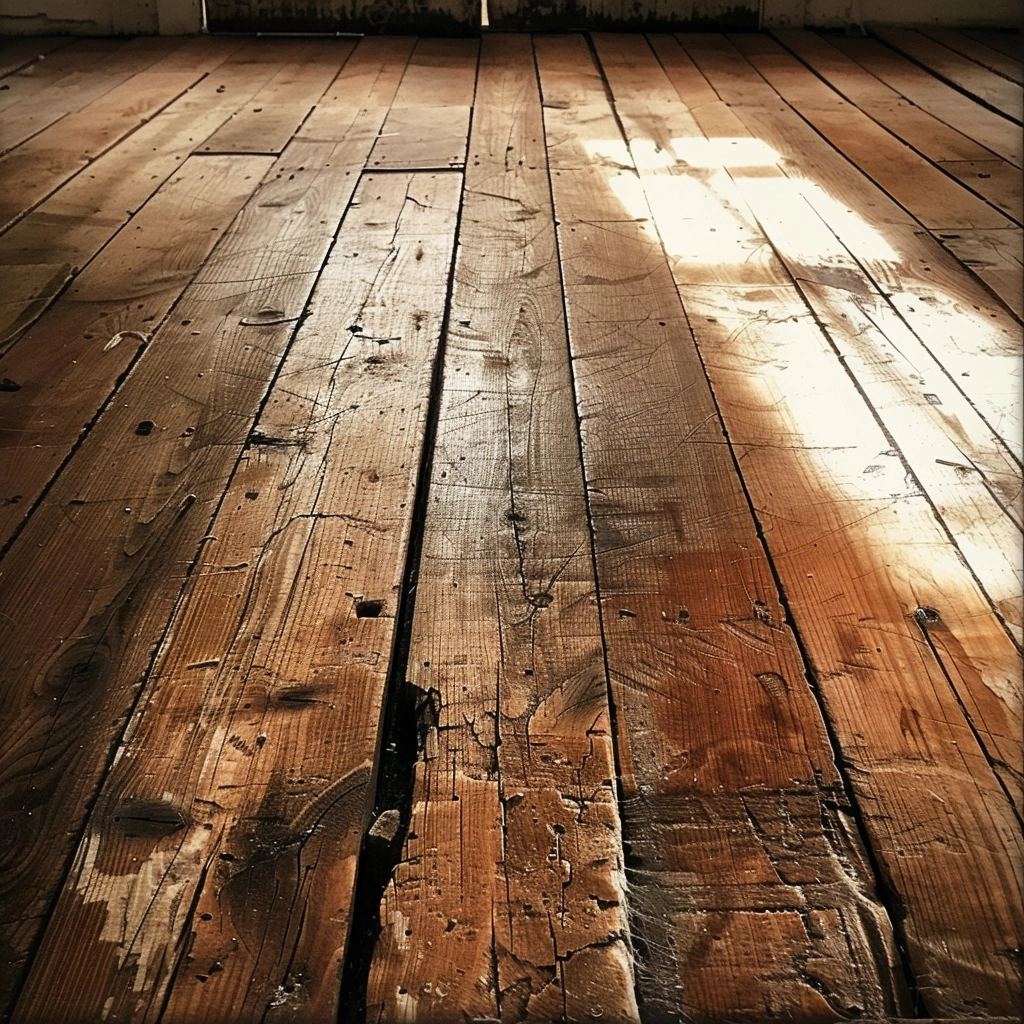
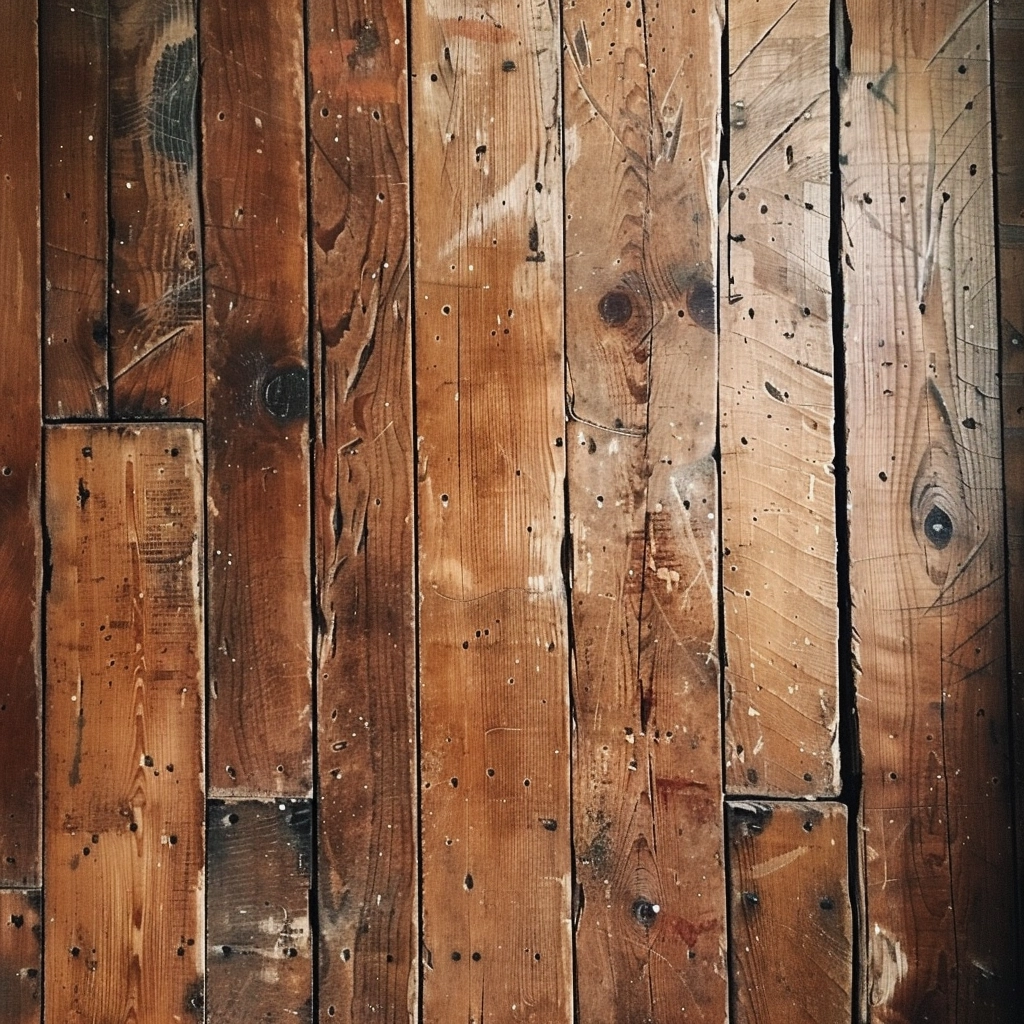
1. Scratches and gouges: If you notice deep scratches or gouges in your hardwood or concrete floors, it’s a clear sign that sanding and restoration are necessary. These imperfections not only detract from the overall appearance of your space but can also pose safety hazards.
2. Fading and discoloration: Sunlight, foot traffic, and spills can cause your flooring to fade or become discolored over time. Sanding and restoration can help to remove these unsightly blemishes and bring back the original color and beauty of your floors.
3. Uneven surfaces: If your floors have become uneven due to warping or moisture damage, sanding and restoration can help to level them out. This not only improves the aesthetics but also prevents trips and falls.
By identifying these signs early on, you can take proactive steps to restore your flooring before the damage becomes more severe. Let’s explore the benefits of flooring sanding and restoration.
Sanding and restoring your flooring offers numerous benefits that go beyond just improving its appearance. Here are some key advantages to consider:
1. Enhanced durability: Sanding and refinishing your floors can help to strengthen them, making them more resistant to daily wear and tear. This can significantly extend the lifespan of your flooring, saving you money in the long run.
2. Improved indoor air quality: Over time, dirt, dust, and allergens can become trapped in the cracks and crevices of your flooring. Sanding and restoration not only remove these contaminants but also seal the surface, preventing them from reentering the air you breathe.
3. Increased property value: Well-maintained and aesthetically pleasing flooring can significantly enhance the value of your property. Whether you plan to sell or simply want to increase its appeal, sanding and restoration are excellent investments.
4. Versatility and customization: Sanding and refinishing give you the opportunity to change the color, finish, or style of your flooring. This allows you to match your space’s new look to your personal taste and interior design.
Now that you understand the benefits of sanding and restoring your flooring, let’s explore the different types of flooring materials and their suitability for this process.
Not all flooring materials are created equal when it comes to sanding and restoration. While hardwood floors are the most common candidates, other materials can also benefit from this process. Let’s take a closer look at some popular flooring types and their suitability for sanding and restoration.
1. Hardwood: Hardwood floors are the gold standard for sanding and restoration. Their thick wear layer allows for multiple sanding sessions, revealing a fresh surface each time. However, it is important to consider the thickness of the planks, as thinner options may not withstand multiple sandings.
2. Engineered wood: Engineered wood floors also have a real wood surface and can be sanded and refinished, but the number of times they can be sanded is limited due to the thinner wear layer. It is crucial to consult with a professional to determine if your engineered wood floors are suitable for sanding and restoration.
3. Laminate: Laminate flooring is not typically suitable for sanding and restoration. The surface of laminate floors is a photograph of wood or another material, making it impossible to sand down and reveal a fresh layer. If your laminate floors are damaged or worn, replacement may be the best option.
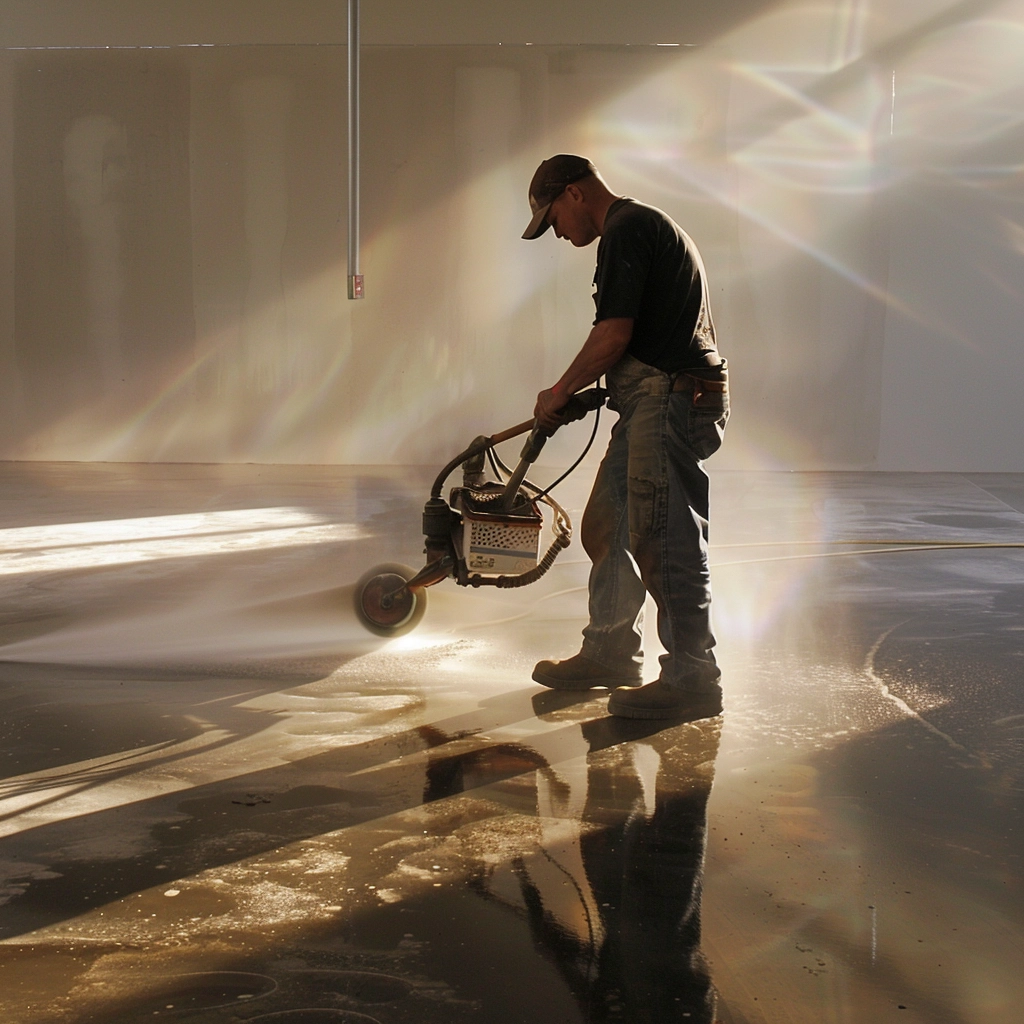
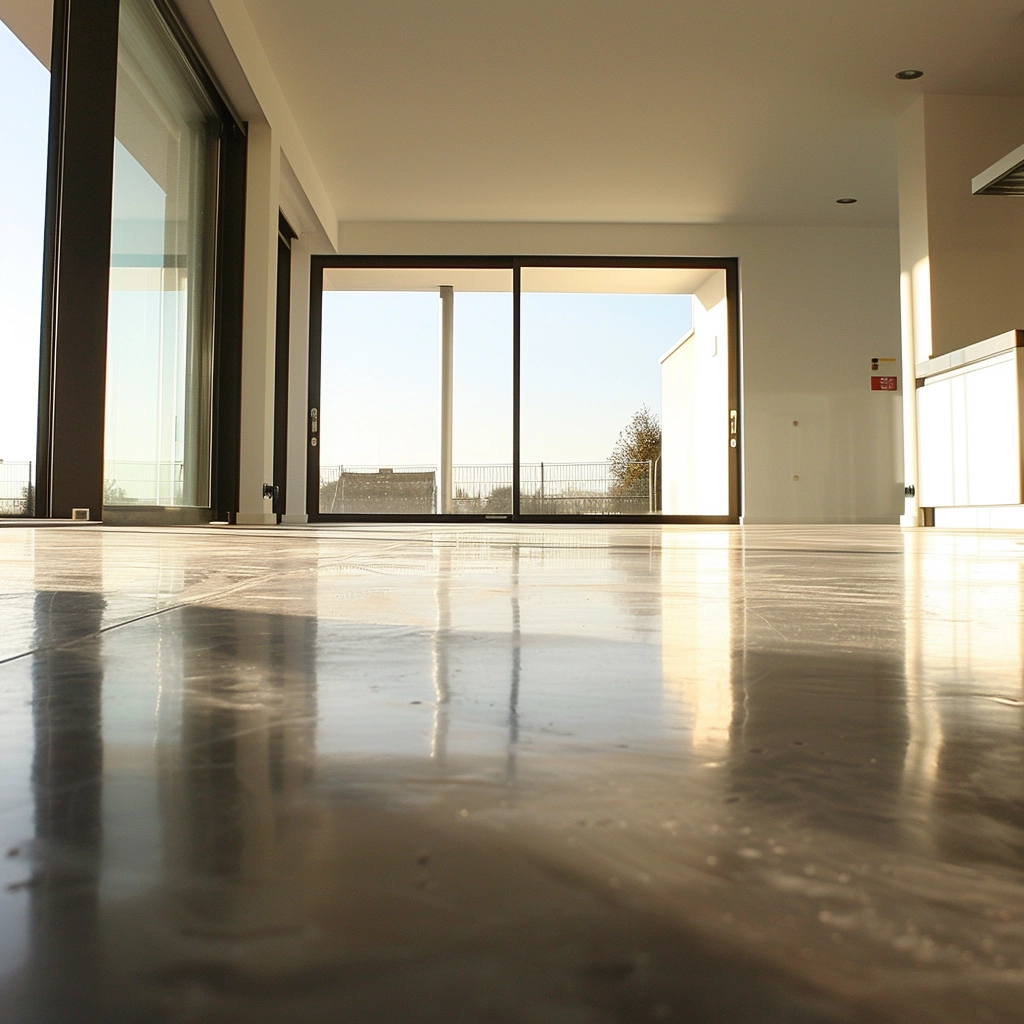
4. Concrete: Concrete floors can also benefit from sanding and restoration. The process involves grinding down the surface to remove imperfections and applying a protective finish. This can transform dull and worn concrete floors into sleek and polished surfaces.
Now that you have a better understanding of the different types of flooring materials and their suitability for sanding and restoration, let’s move on to the tools and equipment you’ll need for the process.
To achieve professional-quality results, it’s essential to have the right tools and equipment on hand. Here are some of the key items you’ll need for flooring sanding and restoration:
1. Floor sander: A floor sander is the primary tool used for sanding hardwood and concrete floors. There are different types of sanders available, including drum sanders, orbital sanders, and edgers. The choice of sander depends on the size and condition of your flooring.
2. Sanding belts and discs: Sanding belts and discs come in various grits, ranging from coarse to fine. Coarse grits are used for initial sanding to remove old finishes and imperfections, while finer grits are used for the final sanding stages to achieve a smooth and polished surface.
3. Safety equipment: It is crucial to prioritize safety during the sanding and restoration process. Protective eyewear, dust masks, earplugs, and gloves are essential to shield yourself from dust, debris, and noise.
4. Repair materials: Depending on the condition of your flooring, you may need to repair damaged areas before proceeding with sanding. Wood filler, epoxy, and concrete patching compounds are commonly used to fill in cracks, holes, and gaps.
Now that you have a better understanding of the tools and equipment required, let’s dive into the step-by-step guide for sanding and restoring your flooring.


While sanding and restoring your flooring can be a rewarding experience, it’s important to be aware of common mistakes that can compromise the quality of your results. Here are some mistakes to avoid:
1. Skipping the repair phase: Neglecting to repair damaged areas before sanding can lead to uneven surfaces and compromised results. Take the time to address any imperfections to ensure a smooth and professional finish.
2. Using incorrect sandpaper grit: Using the wrong grit sandpaper can result in either an incomplete sanding job or excessive removal of the wood or concrete surface. Start with a coarse grit and gradually progress to finer grits for optimal results.
3. Not sanding evenly: Uneven sanding can create visible lines or grooves on the surface of your flooring. Maintain a consistent pressure and movement speed throughout the sanding process to achieve a uniform finish.
4. Neglecting to clean between sanding stages: Failing to remove dust and debris between sanding stages can cause them to become trapped in the finish, resulting in a rough and unattractive surface. Take the time to thoroughly clean the area before moving on to the next grit sandpaper.
Now that you are aware of these common mistakes, you can avoid them and achieve flawless results. Let’s move on to the next step: applying the perfect finish to your newly restored flooring.
The finishing stage is where you add the final touches to your newly restored flooring, enhancing its beauty and durability. Here are some popular finishing options to consider:
1. Oil-based polyurethane: Oil-based polyurethane provides a durable and glossy finish that enhances the natural beauty of wood flooring. It is resistant to scratches, spills, and UV damage, making it an excellent choice for high-traffic areas.
2. Water-based polyurethane: Water-based polyurethane offers a clear and low sheen finish that is ideal for maintaining the natural appearance of your wood flooring. It dries quickly, has a low odor, and is environmentally friendly.
3. Penetrating oil sealer: Penetrating oil sealers are an excellent choice for achieving a matte or satin finish. They penetrate the wood fibers, enhancing its natural color and texture while providing protection against spills and stains.
4. Epoxy coating: Epoxy coatings are commonly used for concrete floors, providing a durable and glossy finish. They are resistant to chemicals, stains, and abrasions, making them suitable for garages, basements, and commercial spaces.
When choosing a finish, consider factors such as durability, maintenance requirements, and personal preference. Now that your flooring is restored and finished, let’s explore how to maintain and preserve its beauty for years to come.
Proper maintenance is essential to preserve the beauty and longevity of your newly restored flooring. Follow these tips to keep your floors looking their best:
1. Regular cleaning: Sweep or vacuum your floors regularly to remove dirt and debris. Use a damp mop or cloth to clean spills and stains immediately, avoiding excessive moisture.
2. Use protective pads: Place protective pads under furniture legs to prevent scratches and dents. Avoid dragging heavy items across the floor, as this can cause damage to the finish.
3. Avoid high heels and sharp objects: High heels and sharp objects can leave permanent marks on your flooring. Encourage guests to remove their shoes or provide mats near entrances to prevent potential damage.
4. Reapply finish as needed: Over time, the finish on your flooring may wear off in high-traffic areas. Monitor the condition of your floors and reapply finish as necessary to maintain their appearance and protection.
By following these maintenance practices, you can enjoy the beauty of your restored flooring for many years to come. Let’s wrap up this guide with a conclusion.
Flooring sanding and restoration offer a cost-effective way to transform your space and revitalize your floors. Whether you have hardwood or concrete flooring, this ultimate guide has provided you with the knowledge and tools to achieve professional-quality results.
From identifying the signs that your flooring needs sanding and restoration to understanding the benefits and suitable materials, you are now equipped to make informed decisions. By following the step-by-step guide, avoiding common mistakes, and choosing the perfect finish, you can achieve stunning and long-lasting results.
Remember to prioritize proper maintenance to preserve the beauty of your restored flooring. With a little effort and care, you can enhance the beauty and value of your space, impressing anyone who walks through the door. Say goodbye to worn-out floors and hello to a fresh and inviting environment that reflects your style and attention to detail.
Don’t settle for less when it comes to your space. Let our ultimate guide to flooring sanding and restoration be your go-to resource for achieving the beautiful and rejuvenated floors you’ve always wanted. Start your flooring transformation today and enjoy the benefits for years to come.
For a full guild on how to restore your floors. Visit here